
Schick 33 / Fona Stellaris / Sirona XIOS Supreme
Schick 33 / Fona Stellaris / Sirona XIOS Supreme Cable Replacement Guide
IMPORTANT! - Like other electronic devices, your digital x-ray sensor is susceptible to electrostatic discharge (ESD), particularly when the device is used in or around carpeted areas or low-humidity environments. During cable replacement, when Sensor contacts are exposed, it is especially important to protect the device from potential ESD damage. Touching a metal surface prior to replacing the Schick Elite/Schick33/ Fona Stellaris cable will reduce the risk of damaging Sensor components by accidental static discharge. The use of anti-static floor mats or floor treatments (for example Staticide 2005/2002) will also help eliminate static build-up in your office. Make sure the Sensor is placed securely on a clean, moisture-free surface.
Please clean and dry your hands before performing this procedure. Do not wear gloves since the powder inside them could be deposited on sensor contacts while replacing the cable.
Step 1:

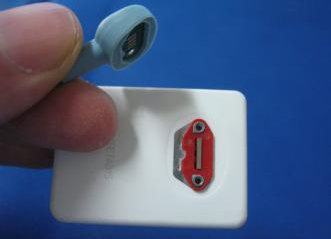
Check the sensor. Schick 33 sensors have artwork similar to the image above and use accessories that are RED in colour. If your sensor is different, stop here and follow the instructions for CDR Elite cable replacement.
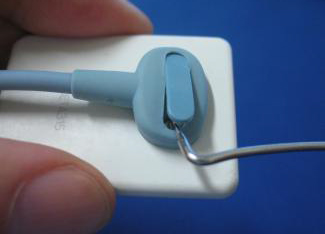
Using a dental instrument, carefully lift and remove the tab cover from the back of the sensor cable. Dispose of the tab cover as a new one will be used when the cable is attached.

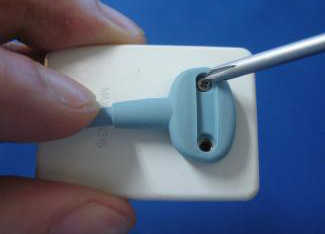
Using the screwdriver provided, loosen and remove the two screws that secure the cable to the sensor. Dispose of the screws as new ones are supplied. Remove the cable from the sensor.
Step 2:
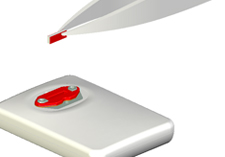
Using tweezers, remove the small elastomeric strip from the Sensor. Dispose of this strip, as it will be replaced. Take a new (red) strip from the Schick 33 spare parts kit, holding it in the tweezers as shown.
Note: Schick 33 parts are red.
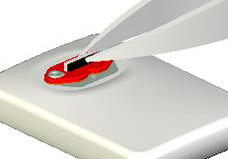
Insert the strip into its slot in the Sensor. Strip shown darker in this image for clarity.
After inserting the strip, apply a small amount of finger pressure to ensure the elastomer is seated squarely in the slot.
IMPORTANT! The elastomeric strip must be seated squarely in the slot for the Sensor to function.
Step 3:
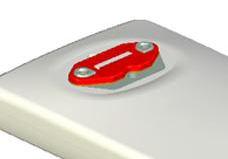
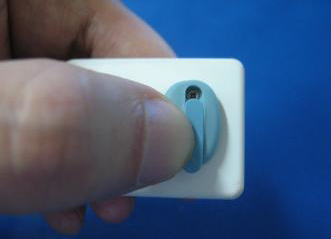
Remove cable from kit. Align the cable to the Sensor so the Sensor keying feature connects to the corresponding key in the cable. When properly aligned, the cable fits the back of the Sensor evenly and the metal area is completely covered.
Using the screwdriver, tighten the first screw just until you feel some resistance. Repeat this action for the second screw. Fully tighten both screws and make sure that they are securely tightened.
Place a new tab cover over the screw slot and slide it across the slot while applying downward pressure, especially at the middle of the tab. When the tab completely covers the slot, snap it into place.
 01283 246228